The photo honestly looked staged.
My friend Clara sent it early on a Sunday — two pictures side by side. The first showed her bathroom floor with those familiar, dingy grout lines: not quite brown, not quite grey, just… tired. The second photo, taken barely fifteen minutes later, looked like the tiles had been freshly installed.
Same floor. Same light. Completely different grout.
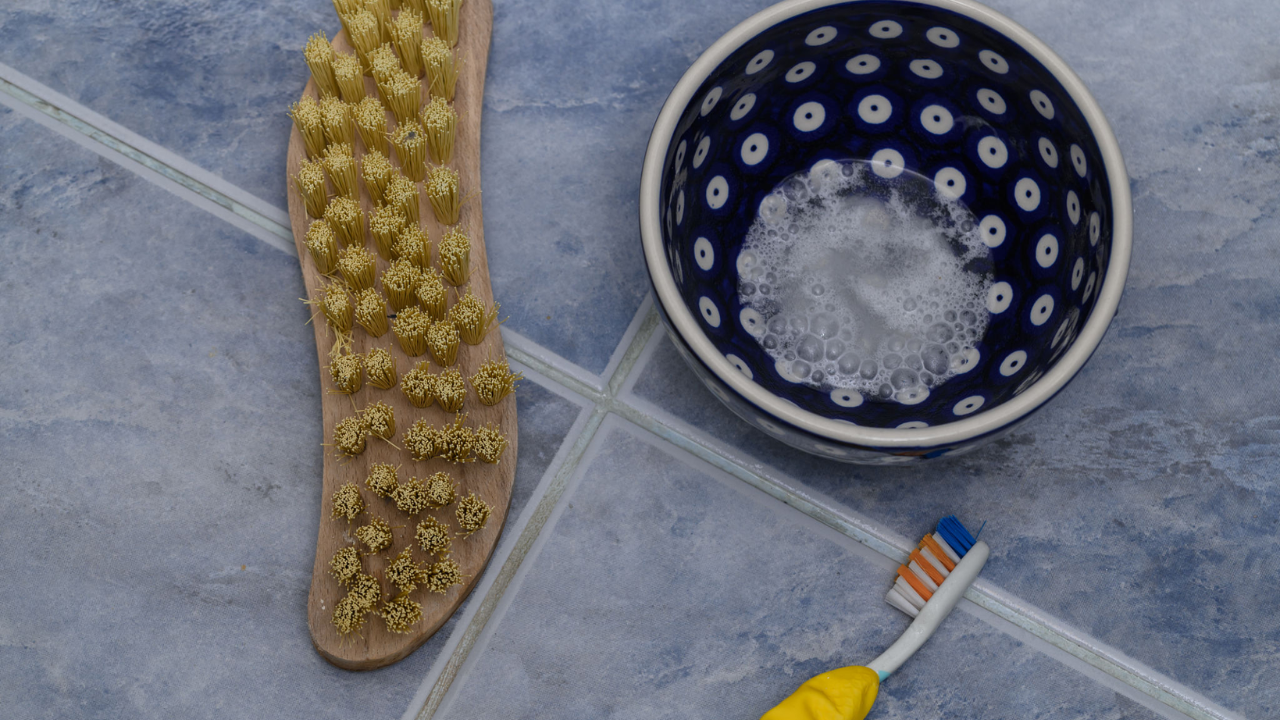
I zoomed in, convinced there had to be a trick. No bleach bottle in sight. No rented steam cleaner lurking in the corner. Just a small bowl on the sink, an old toothbrush, and three everyday ingredients most of us already have.
Her message was short:
“Mixed this, spread it, waited. You have to try.”
The moment you notice grout — and can’t stop seeing it
Grout has a sneaky way of announcing itself. One day you’re brushing your teeth or mopping the kitchen, and your eyes drift downward. You pause. Lean in. Squint.
Was it always this colour?
Once that thought lands, it’s over. Those thin lines between tiles suddenly feel louder than the tiles themselves. Even a clean room starts looking older, duller — like it needs more than just a quick wipe.
For me, the final push came from my mother. She didn’t criticise. She just stood in the bathroom doorway and asked, gently,
“Didn’t this used to be lighter?”
That night, I attacked the floor with a sponge and a generic cleaner. The tiles sparkled. The grout barely moved. I went to bed irrationally annoyed — that very specific frustration only housework can create.
Why grout gets dirty while tiles stay clean
Grout is basically a dirt magnet.
While tiles have smooth, sealed surfaces, grout is porous. It quietly absorbs soap residue, body oils, dust, cooking splashes, moisture — anything that lands on the floor. Regular mopping cleans the surface but leaves the grime trapped inside those tiny pores.
That’s why most all-purpose cleaners don’t restore the original colour. They glide right over the problem.
To fix grout, you need something that loosens dirt from inside, not just polishes the top.
The 3-ingredient mix that brings grout back to life
Clara says she didn’t plan this. She just noticed three things already sitting near her sink:
- Baking soda
- White vinegar
- Dish soap
She mixed a few spoonfuls of baking soda with a small squeeze of dish soap, then slowly added white vinegar until it turned into a thick, foamy paste — not runny, not dry. The kind that sticks where you put it.
Using an old toothbrush, she spread the paste directly onto the grout lines. Then she waited. About ten minutes.
After that, a gentle scrub, a warm rinse — and suddenly the grout looked almost new.
No fumes. No harsh chemicals. No scrubbing marathon.
Why this combination works so fast
The chemistry is surprisingly simple:
- Baking soda acts as a mild abrasive, lifting dirt without damaging grout
- Vinegar dissolves mineral buildup and old soap residue
- Dish soap cuts grease and helps the mixture seep into pores
Together, they work like a targeted deep clean — loosening grime instead of grinding it deeper.
The most satisfying part? The change is visible almost immediately. One rinse, one wipe, and the grout colour comes back to life.
If the vinegar smell bothers you, a single drop of lemon, eucalyptus, or tea tree oil softens it without affecting performance.
Doing it right (and avoiding the common mistakes)
Here’s the method that actually works:
- Sweep or vacuum first — don’t scrub dirt into the grout
- Mix 3 tbsp baking soda + 1 tsp dish soap
- Add vinegar slowly until you get a spreadable paste
- Apply directly to grout lines
- Let it sit 10–15 minutes (don’t rush this part)
- Scrub gently with a toothbrush
- Rinse with warm water and wipe dry
Most people mess this up by scrubbing too early or using too much water afterward. Another mistake? Going aggressive — metal brushes, sharp tools, or harsh chemicals slowly destroy grout and make it stain faster next time.
As Clara put it:
“I stopped treating grout like an enemy. Once I tried to restore it instead of punish it, it actually worked.”
Quick tips:
- Always test on a hidden spot first (especially coloured grout)
- Use a soft or medium brush only
- Dry the area after rinsing to prevent new dirt
- Repeat once on stubborn lines instead of scrubbing harder
When clean grout changes the whole room
Nothing else in the room moves. The tiles don’t change. And yet the space suddenly feels brighter, newer, calmer.
Clean grout doesn’t scream for attention — it does the opposite. It fades into the background, letting everything else look better.
People often say they only realise how bad it was after cleaning one small section. The contrast is shocking — and a little addictive.
There’s the renter who did this before an inspection and watched the agent double-check the checklist. The parents who cleaned the bathroom floor before their baby started crawling. The home seller who spent a few euros on kitchen ingredients and heard, “The bathroom looks almost new.”
It’s not glamorous. But it works.
Sometimes all a room needs is fifteen focused minutes, a bowl, and three ingredients you already own.
Key Points at a Glance
| Key Point | Detail | Why It Matters |
|---|---|---|
| Simple recipe | Baking soda, vinegar, dish soap | No special products needed |
| Fast results | 10–15 minutes waiting time | Visible change in one session |
| Gentle method | Soft brush, no harsh chemicals | Protects grout long-term |
FAQ
Can I use this on coloured grout?
Yes — but always test a small hidden area first. Vinegar can slightly fade some coloured grouts.
How often should I do this?
Every 3–4 months is enough for most homes. Showers or entryways may need it a bit more often.
Does this remove mold?
It helps with surface grime and soap scum. Deep mold inside grout may require a dedicated anti-mold treatment or regrouting.
Can I replace vinegar?
Diluted lemon juice works as a gentler alternative, though it’s slightly less powerful.
Is it safe for kids and pets?
The ingredients are common household items, but keep wet floors and the mixture away from children and pets until fully rinsed and dry.